Showing posts with label vw t5. Show all posts

Monday, 20 February 2012

Awning in Action!!

Rosie and I like to get away in the van as much as we can, but one of our favourite stops of the year is the End Of The Road Festival, this is an AWESOME folk and acoustic music festival set in the heart of Dorset at the Larmer Tree Gardens.

The festival starts on the Friday night but you can arrive on the Thursday afternoon (which is what we do!!) and the festival runs through to Sunday night and you can stay until Monday afternoon (which is also what we do!! - you have to get the best out of your money!!)

This year we had the awning to use which I have to say was awesome!

These are my favourite pics of Scarlet!!

Awning and Silver Screens in action


Hope you liked the pics.

Cheers

Tom

Tuesday, 7 February 2012

Rear Windows

After using the van for camping and surfing, I really wanted to have some more light in the back of the van, but they were not 1st on the list to do, that was until I saw that Kira Vans had discounted their dark smoke rear windows!!

I bought the windows and the fitting kit confident that I could fit the windows myself!

Before

Drilling the guide holes in each corner

Using a dust sheet to protect the rest of the door from sparks/spurs
Cardboard template of inner skin
1st hole cut :s
No going back now!!
Metal primer added, this is what the window bond sticks to
One window on. Repeat above steps to other door
Finished!!!
As you can see it was a pretty full on job (in my opinion) I used a jigsaw with a metal bit to do the main cutting job, metal bit drill bits to drill the holes and a sanding bit (which fits into my drill) to finish all of the edges. 

Cheers

Tom

Sunday, 29 January 2012

Install Number 2 Part 2

From the last post you can see that I changed my install to include 2 cupboards and 2 drawers. This was because as I am sure you'll all agree when you get round to using the van you find more storage is really useful.


As you see from the pics I have some cushions on my bed the surfboard ones were made by my girlfriend Rosie. I also have rear windows now but that is for a later post!!


Cheers

Tom

Sunday, 22 January 2012

Its been a while!!!! Install number 2 part 1

Hello all,

Sorry its been such a long time but with christmas, spending time with family, interviewing for a new job and doing a few things to the van I have not had the time to blog!!

Without further ado here is my 2nd install idea, or part one of it anyway. After much discussion with Rosie and my mate at work Andy I decided to go down the IKEA install route, because I needed to store surfboards in my van I decided to only use 2 cupboards and then use cupboard doors as blanking plates (hopefully all will become clear with the pic!!)


As can be seen from the pic I used 2 IKEA Faktum cabinets for the front cupboards, I cut a section out of the back of these so that I could slide a surfboard behind and then used IKEA Applad doors for the cupboards and then as blanking plates toward the rear of the van. I also cut the tops of the cupboard doors so that I could make them into drawers!

I will post a picture of the finished product soon.

Cheers

Tom 

Saturday, 10 December 2011

Drive Away Awning

Isn’t it funny how you have a certain list of essentials for going away with that you absolutely cannot do without. But each time you go away that list seems to be ever expanding!
Rosie and I have been away a fair bit in the van and have got the technique down of traveling light, last year we spent 2 weeks traveling from Southampton across the channel and then along the northern and western coast of France and then to the Pyrenees. This year we have not been away internationally but have been on various trips to Cornwall, Devon and a few festivals near to our house. 

The one thing that you struggle with going away in a van is space and where to put things so we decided to put some time into researching drive away awnings, there are plenty out there to suit the T5 but we went for the Campershop Outlaw you can see it here. Its fairly big inside and comes with a groundsheet and an inner tent that can sleep 2 people, you could purchase another one to go on the opposite side but we are not fussed with that and prefer the space!
So around came my 25th birthday and my folks asked my what I wanted and the inevitable happened......I got my awning!!
This is a picture of when my dad and i set it up for the first time, (as you can see pictured my steels are back on as at the time my alloys were being sprayed!!) 

I must say since having the awning, we enjoy camping so much more as it is very easy to just put everything in the awning like the chairs table and cooking stuff etc and then you have the van free to use, also when you want to nip out for the day your pitch is saved and you dont have to worry about someone nipping in there when you are out.

I looked at a few ways of fixing the awning to the van; The reimo rail I don like because it sticks out from the side of the van and you either have to glue it or drill holes in your van. The VW one is good and fits in the channel on the roof but this seemed to be very expensive and hard to get hold of.  I used the funky leisure awning rail it is made of stainless steel and again fits in the channel on top of your roof and uses the roof rack bolts to fix down. See it Here.  I also bought from then the figure of 8 channeling to fix the awning on to the van.
Cheers 
Tom

Saturday, 19 November 2011

Alloys and Snow!

So after a really long search, I finally found some alloys that I liked, were the right size, load rated and not too pricey.  I went for old BMW M5 wheels, they are close to the weight limit but enough to say the least.


The first pic was taken on my mum and dads drive. 


The second pic was taken in front on my girlfriends flat in Southampton when we had all the snow last year!

Cheers

Tom

Monday, 7 November 2011

Naughty number plates, vans and fines!

Trawling through some pictures of Scarlet to document her conversion I found a couple that show the van off really well before all the work started.


The first two pictures were taken for my friend's uni project. The first is literally outside the window of my work and the other around the corner near the Swannery Lake. In Weymouth, on the big spring tides the harbour floods the storm drains which overflow onto the harbourside road causing a fair bit of surface water which is bad for your car! Not sure if you can see but at that time I was still naive enough to be driving around with German pressed plates on my van (yes stupid I know!). I got caught speeding in July 2010 (a couple of months after) and subsequently got done for my plates as well, lesson learned!! Just incase you don't know, I got a hefty amount of point and fine because I was not aware that you could only 60mph on a dual carriageway in a van!!


This final picture is of my work's car park. My boss (and mate's) van is the white one with the range rover alloys (maybe this pic will inspire him to get some new tyres, eh Andy!!), The blue California  is my friend Matt's and you can see Scarlet tucked away at the end. You can tell what most of the conversations at work are about!!


Cheers

Tom

Sunday, 6 November 2011

Lights and Headlining

So I guess the next thing I did with Scarlet was to shed some light (literally!) in the rear of my van, first I purchased some of these from B&Q.

They are 12v LEDs which I wired into this. The LEDs came with their own junction box so they were really easy to wire in.  I decided that I wanted 5 in the front section and the same in the rear. So once I had spent some time drawing the plan out on a piece of paper it was time to drill the holes!!


Above is the rear section.

I had to drill 27mm holes so out came the spade bit, which i have to say was a bit brutal, so I put a piece of batten the other side to drill into and give some support.


Above is the front section.


As can be seen above this is the headlining in situ with its shiny new lighting. BUT I was not happy with it because I did not like the colour of the original headlining against the carpeted walls. Also because Scarlet had a factory fitted bulkhead, there was a gap between the cab headlining and rear headlining.

So to combat this, I got hold of some hardboard and made a piece to fill the gap which tucked neatly underneath the brace between the cab and the rear of the van. I then got hold of some more carpet from Mega Van Mats and covered the whole of the rear headlining to match the sides.


So here it is, the headlining is now complete! Apologies for the picture, not the best!!!

Cheers

Tom

Sunday, 23 October 2011

Install Number One

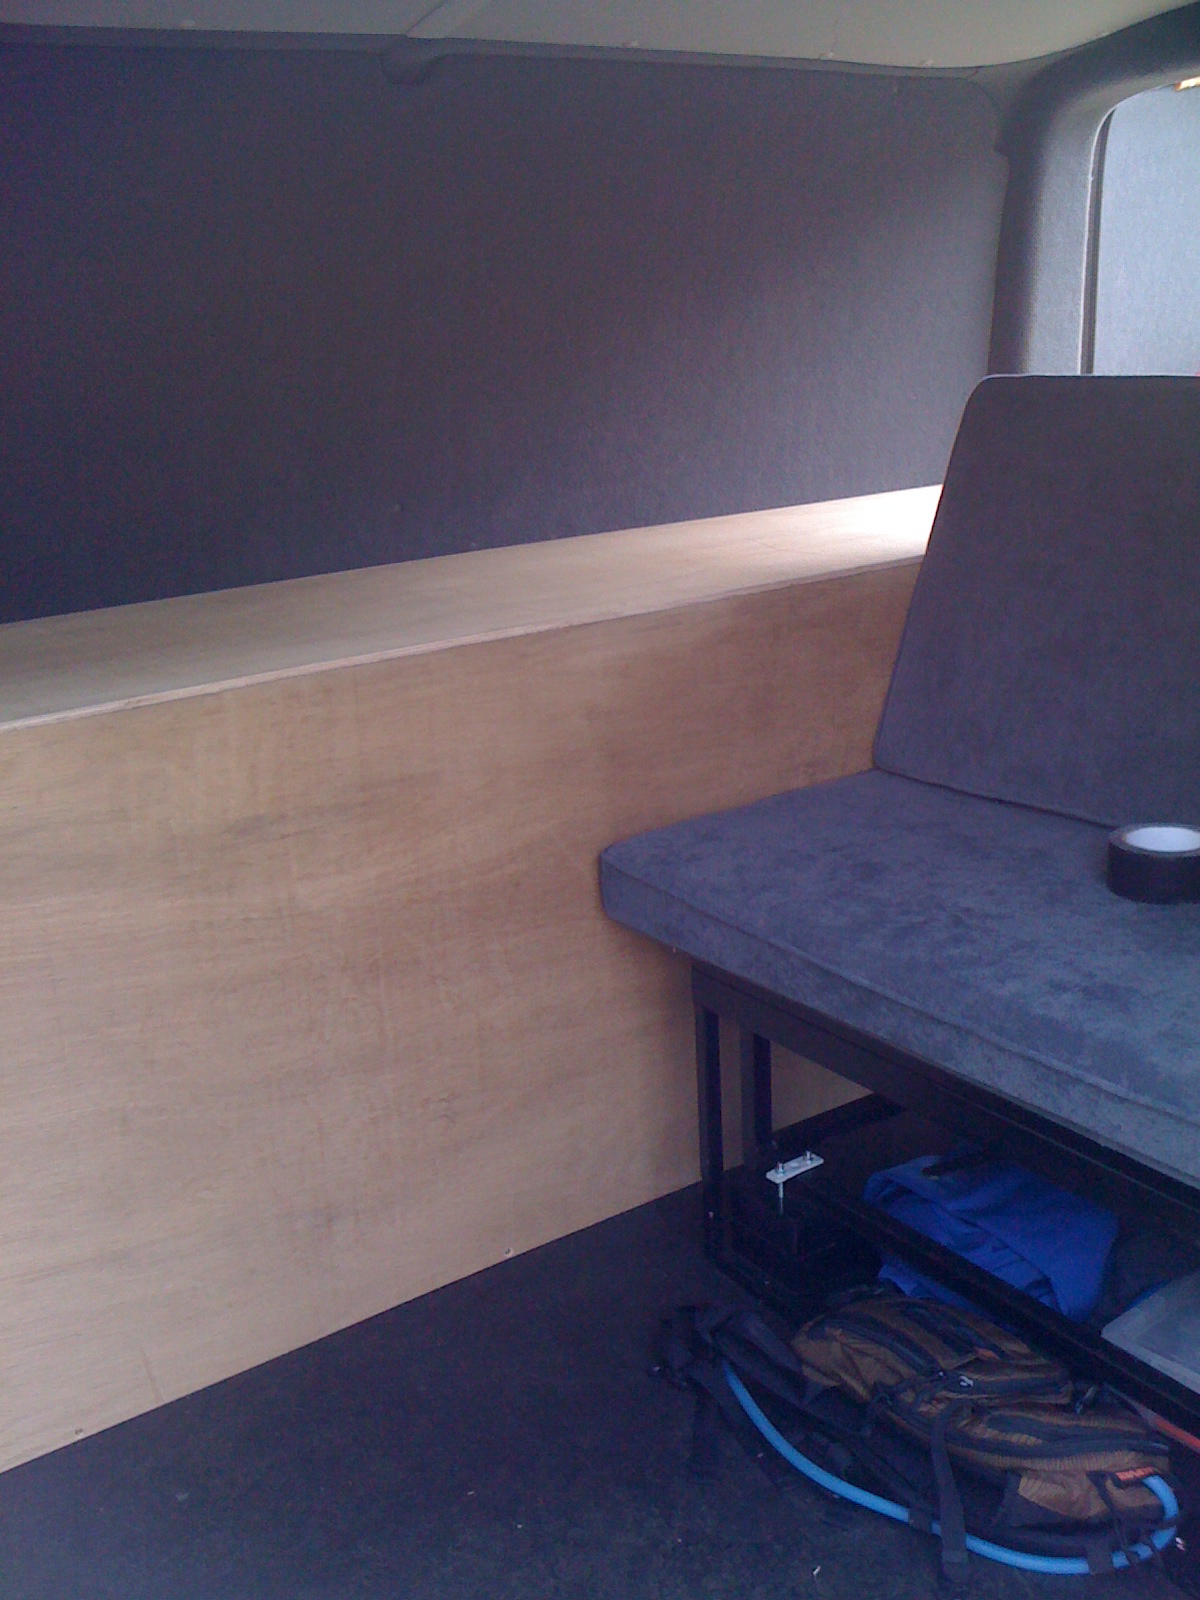
This was my first idea for an install in my van, I basically wanted to be able to carry surfboards kites and kite boards around yet sleep in the van comfortably. I was not sure how often I would be going away camping, I thought I would be more likely to be going away on surf trips and roughing it for a bit, but as we all know, when you go away, you think....I could do with somewhere to put this.....Or I need one of these...etc.


So I came up with the idea of boxing off one section of the van, after installing the rock n roll bed, this is what Christian (my furniture making friend) and I came up with, this initially filled the brief for me. As you can see from the pictures, the install is plain marine ply, but to add to this I bought some formica (which is basically a colored veneer). I had a layer of white on the inside and black on the outside. its a shame that i dont have any pictures of what the formica looked like, but I can tell you it looked smart and had some nice lines to it.